
‘THE’ is a mini MQTT Information Display for Time, News and Environmental Information. Using a 4.2-inch eInk screen, its concept is simple - to display information on a rotational basis, updating every couple of minutes. The data can be any feed - from the latest news headlines through to your smart home, energy usage, live local environmental conditions or simply the time - THE - Time, Headlines & Environment.
‘THE’ is built from two simple off the shelf components (an eInk InkyWHAT screen from Pimoroni and a Raspberry Pi) the code and the 3D printed casing are open source, allowing you to modify or redesign your own.
The concept comes from a long tradition of viewing data on a screen, from systems such as Teletext, through to the beloved Chumby, onwards to the Sony Dash and then they current iterations of the Echo Show and Google Home. Yet there is a need for a simple information display that does not listen in, does not play music or videos and does not rely on having cloud-based data. Something that simply displays information, at a glance using a beautiful non lit eink screen, on widgets that cycle at predetermined intervals. One brilliant example is the eInk Status Display, using the InkyPhat see https://jsutton.co.uk/eink-mqtt-status/ for details. Thus with these in mind and some code to work on ‘THE’ was born, one cold weekend in November in deepest Norfolk, while thinking about the Connected Environments Curriculum back at University College London.
At its heart, THE is powered by Message Queuing Telemetry Transport (MQTT), allowing it to receive messages as soon as they are broadcast, via series of scripts, written in Python. THE subscribes to the topic (THE/messages) which are displayed on the eInk screen whenever a new one arrives. This allows the hub of THE to simply be a displayer of a single message topic with the timings and subjects configured by external scripts. The configuration allows the system to display a wide range of data sources from internal sources around Smart Home Automation Systems through to the news headlines, personal messages to friends or family or simply to display the time.
To Make a THE you require:
- A Raspberry Pi (a Pi zero, or a Pi 3 ) - we used a Pi 3 for ours.
- An InkywHAT screen;
- If using a Pi 3 - a right angled USB cable (so the cable fits in the case);
- An MQTT broker - either running on your Pi or elsewhere. Don’t worry if you do not have one or are not sure what MQTT is, its quick and easy to set up and once installed it will automatically run - take a look at https://randomnerdtutorials.com/how-to-install-mosquitto-broker-on-raspberry-pi/ for a full and easy to follow tutorial on getting MQTT running - in this case mosquitto on your Pi.
- An easy to fit case - head over to Thingiverse to download and print our open source case.
- Our free and open source scripts to collect the Time, News and Environment conditions.

Step One: Installing the InkywHAT
The first step is to set and install your InkyWhat eInk sceen. You can install the libraires required for your InkyWHAT by using the easy one-line-installer.
Open a new terminal to connect to your Pi, and type the following, making sure to type y or n when prompted:
curl https://get.pimoroni.com/inky | bash
The one-line-installer puts everything in place to get your eInk screen up and running, we recommend you head over to the Pimoroni Getting Started with InkyWhat for more info and examples - just to check its working.
Step Two: Getting the Time, News and Environmental Information
THE updates its information via subscribing to an MQTT topic, our custom scripts pull in other sources of information and publish to this topic, allowing any number of sources of information to be used. There are three main files - one for the Time, a second for the News Feed and a the third for Weather conditions.
Getting the Time:
All our files are available via the Connected Environments githib for THE - https://github.com/ucl-casa-ce/THE
For the time - download timetomqtt.py.
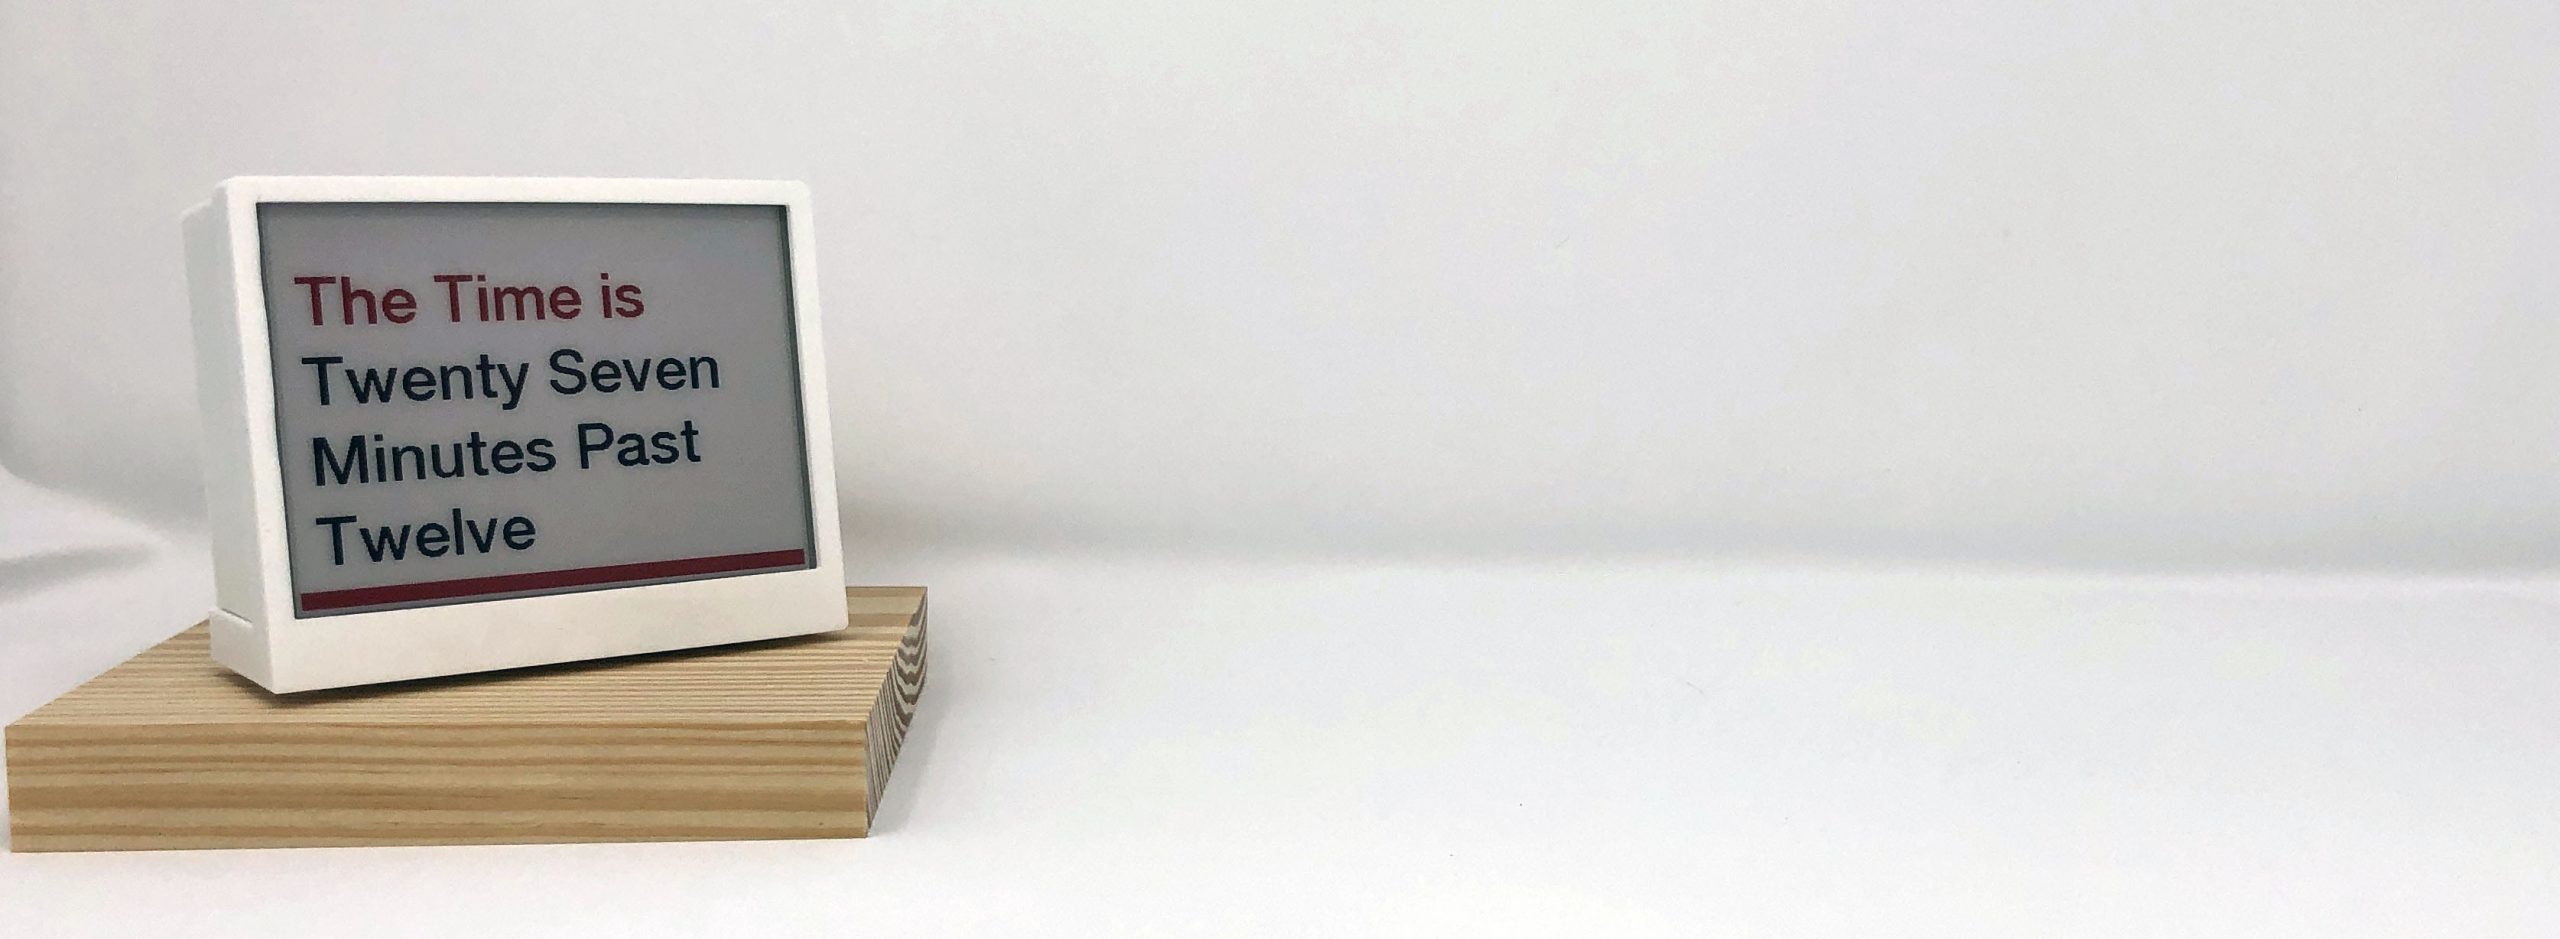
The script gets the current time and converts it to words for display on THE - so, for example, 12.14pm becomes The Time is Fourteen Minutes Past Twelve and so on. In the script you need to edit it to add in your own MQTT details - we have highlighted the parts to edit in the code.
Copy it across to your Pi in a folder - we use /home/pi/scripts - this can be down either via the command line or via ftp via Filezilla or similar.
Getting the News:
For the news, download rsstomqtt.py.
The script gets the latest news from Sky and publishes it to MQTT for THE. You can edit the news source as required in the file. This file can also be copied to pull in any RSS feed directly onto your THE. As before, in the script you need to edit it to add in your own MQTT details - we have highlighted the parts to edit in the code.
Getting the Weather:
For the weather, download darkskytomqtt.py
You need to sign up to use the Darksky API (don’t worry, it’s free and allows up to 1000 calls a day, more than enough to display the latest weather on THE). In our script, simply put in your DarkSky key, which you will receive when you sign up to the API and also your longitude and latitude for the location you want to obtain the data for.
You can find a long and lat via https://www.latlong.net/
If all this is new then it may sound complicated but with a little trial and error you will be able to edit files, write your own and get the information you want on THE in no time. Any issues just drop is a line via the contact form below.
Step Three - THE
Once you have the scripts to collect the feeds you needs to install the main script to run THE.
Download THE_pi_what.py
As with the other scripts, edit where indicated and add in your own MQTT details. Once edited, copy it across to your Pi with your other scripts.
Finally you need the font and the background image:
Download hm.ttf (the font)
Download whatbackground.png
These go in a new folder called ‘resources’ inside the scripts folder you crearted on your pi - simply create the new folder and copy the files across.
Step Four - Run the Scripts at Set Times.
The scripts run at set times on the pi via the cron service. To set this up, simply log into your pi via ssh and type
sudo crontab -e
This sets up a new cron process - if asked select option ‘2’ to edit with nano - copy the following into the cron file and save (cntl x).
*/5 * * * * python3 /home/pi/scripts/timetomqtt.py
*/12 * * * * python3 /home/pi/scripts/rsstomqtt.py
*/18 * * * * python3 /home/pi/scripts/darkskytomqtt.py
@reboot sleep 10 && python3 /home/pi/scripts/THE_pi_what.py
*/60 * * * * sudo reboot
The scripts run at set times - change them to any time to wish. We reboot the pi every hour to keep things fresh - this is not required and we know it is not the best of practice but we have found it keeps things running for our purposes.
Step Five
Reboot your Pi and sit back and wait - your feeds will appear according the time intervals you set in your cron scripts.
You can edit the files and add as many sources of information as you like.
Do let us know if you make one, edit any scripts or remix the case.